Copilot’s built-in knowledge is great, but sometimes you need fresh data or to trigger actions in your own systems. In this article, we’ll show you how to combine Retrieval-Augmented Generation (RAG) with a simple FastAPI service as a custom connector—so your Copilot Studio agent can pull live information and carry out real-world tasks.
For example, imagine your agent must query an SAP or Oracle ERP endpoint to fetch up-to-date inventory and pricing. You can wrap those product-list APIs in a FastAPI app and expose it as a connector that your Copilot agent calls at runtime.
Here’s how to put it all in place:
1. FastAPI service deployed in Azure
Assume you’ve taken your FastAPI “product-list” app and deployed it to Azure App Service (or Azure Container Apps), exposing it at https://my-products-api.azurewebsites.net . You can follow this link to have a code sample to build this FastAPI;
2. Create a Custom Connector in Power Apps
- Go to make.powerapps.com.
- Go to Custom connectors → New custom connector → Create from blank.
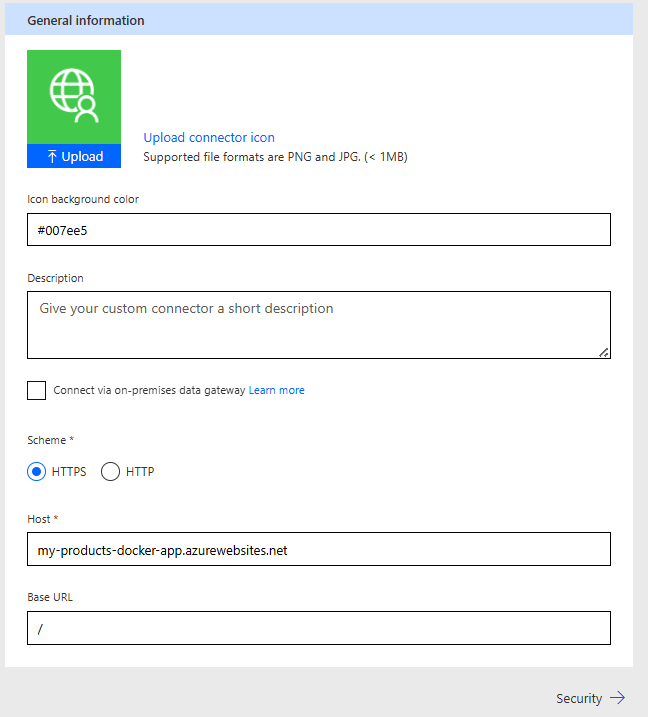
- General Information:
- Host: php-templateCopyEdit
<your-app>.azurewebsites.net
- Base URL: leave as
/if you don’t have a sub-path.Scheme: Choose HTTPS.
- Host: php-templateCopyEdit
- Security (Authentication):
- If your API is open, choose: yamlCopyEdit
No authentication - If you use an API key or bearer token, configure it here.
- If your API is open, choose: yamlCopyEdit

Step 3: Define your API endpoints manually
Here you manually add each FastAPI route you wish to use.
Example: Fetch Product by ID
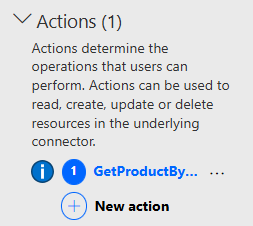
- Click New Action:
- Summary:
Get Product by ID - Operation ID:
GetProductById - Visibility: Important
- Summary:

- Scroll down to Request and click + Import from sample:
- Verb:
GET - URL: arduinoCopyEdit
https://<your-app>.azurewebsites.net/products/{product_id} - Click Import.
This automatically recognizes the parameter{product_id}.
- Verb:
- Ensure the parameter is correctly recognized:
- Click on
product_idparameter to set its type (e.g., integer or string).
- Click on

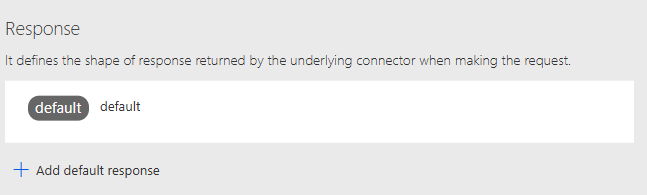
Step 4: Define the Response Manually
Under Response, click + Add default response:
- Paste a valid JSON example response from your API. For example: jsonCopyEdit
{ "id": 2, "name": "Gadget", "price": 29.99, "description": "An advanced gadget with lots of features." } - Click Import.
This auto-generates the response schema.
Step 5: Test your Connector
- Go to the Test tab.
- Click Create connector first, then refresh the page if required.
- Enter a valid product ID and test it:
- Example:
2 - Click Test Operation.
- Example:
You should see your FastAPI response returned successfully.
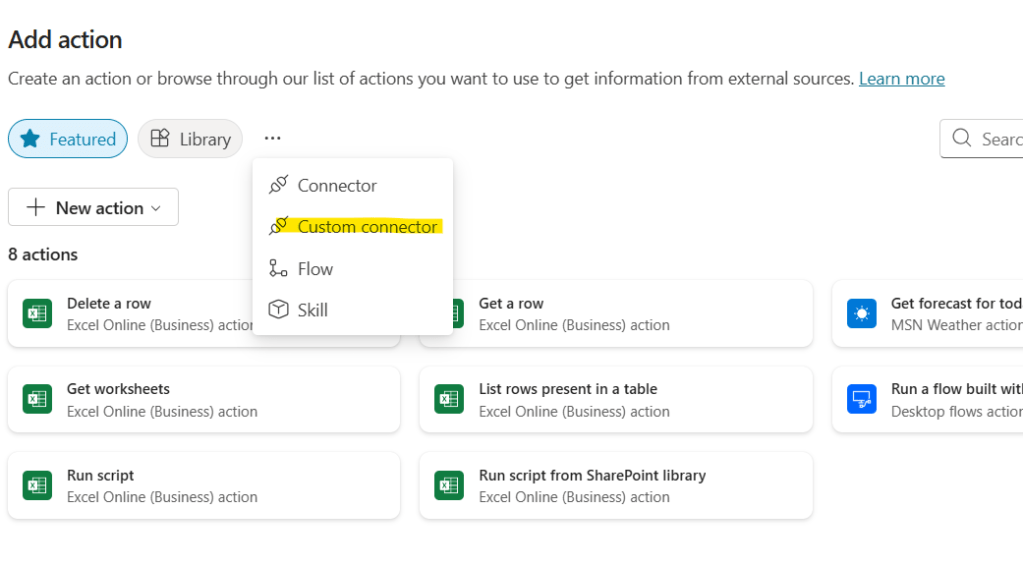
3.Add your connector as a Copilot Studio skill

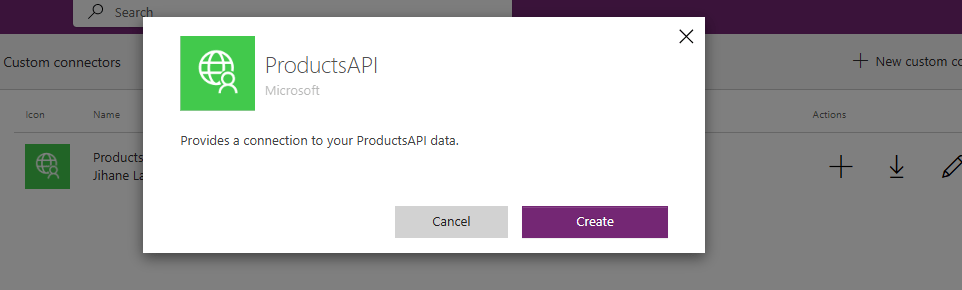
Configure Agent Behavior to call your Custom Connector
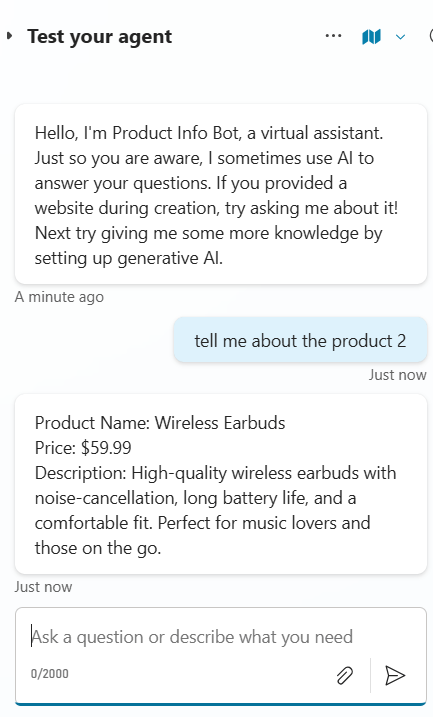
- In the agent’s System prompt, clearly instruct your agent how and when to use your connector. For example:
When the user asks about a specific product by ID, call the ProductAPI connector using the "GetProductById" action, passing the specified ID as parameter. Format the response nicely as follows:

Product Name: [name]
Price: $[price]
Description: [description]


Leave a comment